


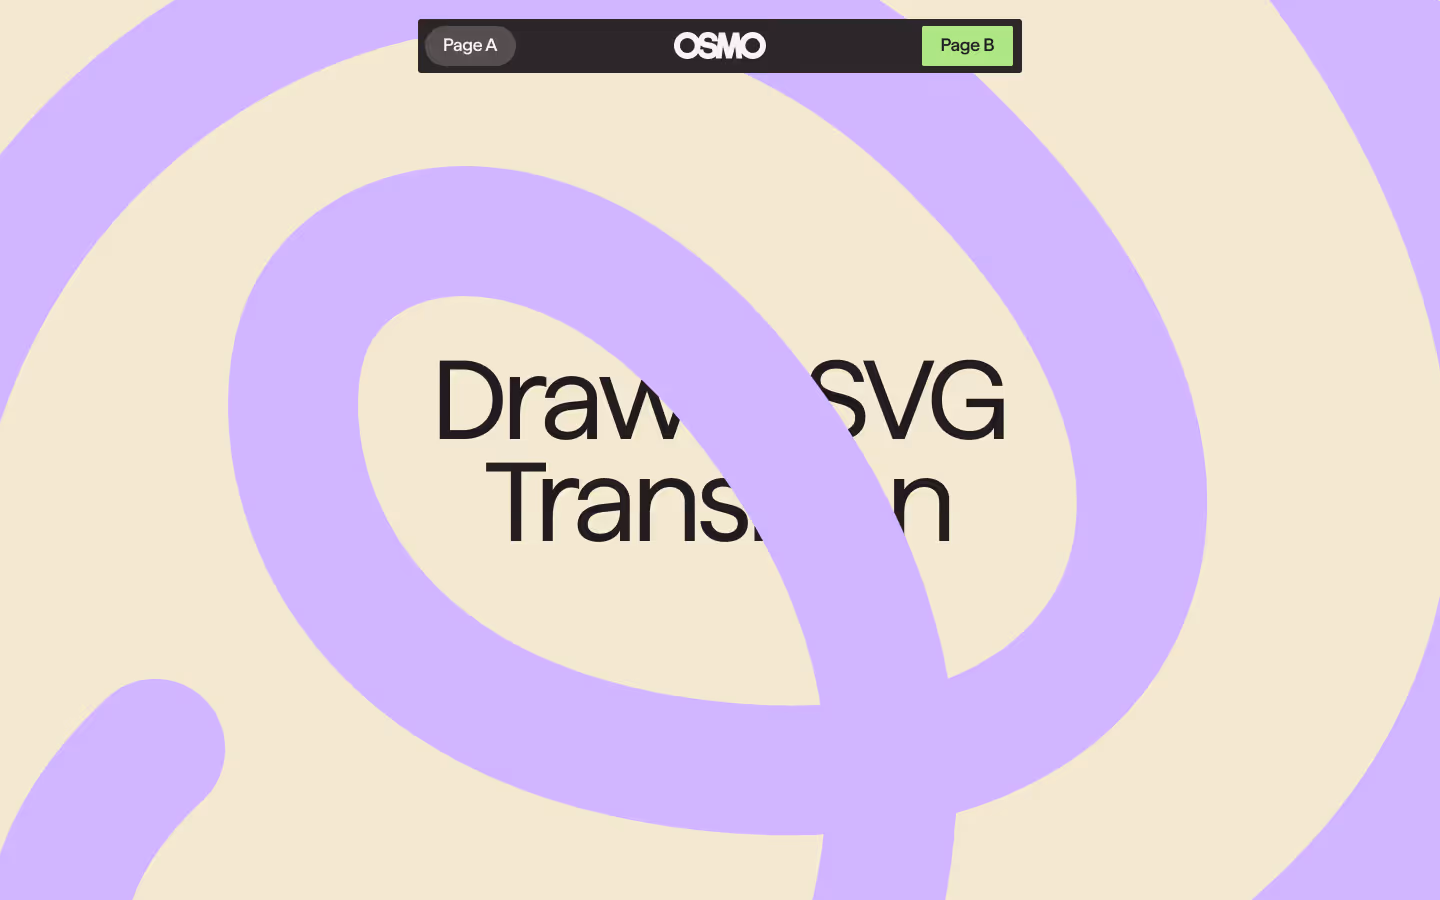
Draw SVG Page Transition
Documentation
Webflow
Code
This resource is part of the Page Transition Course
Learn about Barba.js
We recorded a full course to guide you through the world of Barba.js. On top of that, we built a boilerplate that this resource is based on. In the course, we’ll teach you exactly how it all works.
Setup: External Scripts
External Scripts in Webflow
Make sure to always put the External Scripts before the JavasScript step of the resource. In this video you learn where to put these in your Webflow project:
HTML
<!-- CSS -->
<link rel="stylesheet" href="https://unpkg.com/lenis@1.3.17/dist/lenis.css">

<!-- JS -->
<script src="https://cdn.jsdelivr.net/npm/@barba/core@2.10.3/dist/barba.umd.min.js"></script>
<script src="https://cdn.jsdelivr.net/npm/lenis@1.3.17/dist/lenis.min.js"></script>
<script src="https://cdn.jsdelivr.net/npm/gsap@3.14.1/dist/gsap.min.js"></script>
<script src="https://cdn.jsdelivr.net/npm/gsap@3.14.1/dist/CustomEase.min.js"></script>
<script src="https://cdn.jsdelivr.net/npm/gsap@3.14.1/dist/DrawSVGPlugin.min.js"></script>Step 1: Copy structure to Webflow
Copy structure to Webflow
In the video below we described how you can copy + paste the structure of this resource to your Webflow project:
Copy to Webflow
Webflow structure is not required for this resource.
Step 1: Add HTML
HTML
<div data-transition-wrap class="transition">
  <div class="transition__shape">
    <svg xmlns="http://www.w3.org/2000/svg" width="100%" viewbox="0 0 1000 1000" fill="none" preserveaspectratio="none" class="transition__svg"><path d="M43 259C296 11.5688 994 -3 922.994 498.259C851.988 999.517 281.229 1004.28 123 767C-35.2287 529.721 179 259 472 259C765 259 792 498.259 659 654C526 809.741 319 755 285 669.001C251 583.001 299 452 496 452C693 452 876.073 639.171 935 937.001" stroke="currentColor" stroke-width="0" stroke-linecap="round" stroke-linejoin="round"></path></svg>
  </div>
</div>
HTML structure is not required for this resource.
Step 2: Add CSS
CSS
.transition {
  z-index: 25;
  pointer-events: none;
  position: fixed;
  inset: 0;
  overflow: clip;
}

.transition__shape {
  color: #ceaeff;
  width: 100%;
  height: 100%;
  position: absolute;
  top: 0;
  left: 0;
}

.transition__svg {
  width: 130%;
  height: 130%;
  position: absolute;
  top: -15%;
  left: -15%;
}
Step 2: Add custom Javascript
Custom Javascript in Webflow
In this video, Ilja gives you some guidance about using JavaScript in Webflow:
Step 2: Add Javascript
Step 3: Add Javascript
Javascript
// -----------------------------------------
// PAGE TRANSITIONS
// -----------------------------------------

gsap.registerPlugin(DrawSVGPlugin);

function runPageOnceAnimation(next) {
  const tl = gsap.timeline();

  tl.call(() => {
    resetPage(next);
  }, null, 0);

  return tl;
}

function runPageLeaveAnimation(current, next) {
  const transitionWrap = document.querySelector("[data-transition-wrap]");
  const transitionSVGPath = transitionWrap.querySelectorAll("svg path");

  const tl = gsap.timeline({
    onComplete: () => { current.remove() }
  });

  if (reducedMotion) {
    // Immediate swap behavior if user prefers reduced motion
    return tl.set(current, { autoAlpha: 0 });
  }

  tl.set(next, {
    autoAlpha: 0,
  }, 0);

  tl.set(transitionSVGPath, {
    strokeWidth: "5%",
    drawSVG: '0% 0%',
  });

  tl.to(transitionSVGPath, {
    duration: 1,
    drawSVG: '0% 85%',
    ease: "Power1.easeInOut"
  });

  tl.to(transitionSVGPath, {
    strokeWidth: "30%",
    duration: 0.75,
    ease: "Power1.easeInOut"
  }, "< 0.25");

  return tl;
}

function runPageEnterAnimation(next){
  const transitionWrap = document.querySelector("[data-transition-wrap]");
  const transitionSVGPath = transitionWrap.querySelectorAll("svg path");

  const tl = gsap.timeline();

  if (reducedMotion) {
    // Immediate swap behavior if user prefers reduced motion
    tl.set(next, { autoAlpha: 1 });
    tl.add("pageReady")
    tl.call(resetPage, [next], "pageReady");
    return new Promise(resolve => tl.call(resolve, null, "pageReady"));
  }

  tl.add("startEnter", 1);

  tl.set(next, {
    autoAlpha: 1,
  }, "startEnter");

  tl.set(transitionSVGPath, {
    drawSVG: '0% 100%',
  });

  tl.to(transitionSVGPath, {
    duration: 1.25,
    drawSVG: '100% 100%',
    strokeWidth: "5%",
    ease: "Power1.easeInOut",
  }, "startEnter");

  tl.fromTo(next.querySelector('h1'), {
    yPercent: 25,
    autoAlpha: 0,
  }, {
    yPercent: 0,
    autoAlpha: 1,
    ease: "expo.out",
    duration: 1,
  }, "< 0.75");

  tl.add("pageReady");
  tl.call(resetPage, [next], "pageReady");

  return new Promise(resolve => {
    tl.call(resolve, null, "pageReady");
  });
}
Step 3: Add custom CSS
Step 2: Add custom CSS
Custom CSS in Webflow
Curious about where to put custom CSS in Webflow? Ilja explains it in the below video:
CSS
Template Setup
Navigation: Outside container (also possible inside)
Transition div: Yes, outside the container
<body data-barba="wrapper">
  <div data-transition-wrap>...</div>
  <main data-barba="container">
    <nav>...</nav>
    <!-- page content here -->
  </main>
</body>
How to use
Copy the full code block from this page, and replace the // PAGE TRANSITIONS section in your boilerplate. This includes the transition functions and any helpers they need.
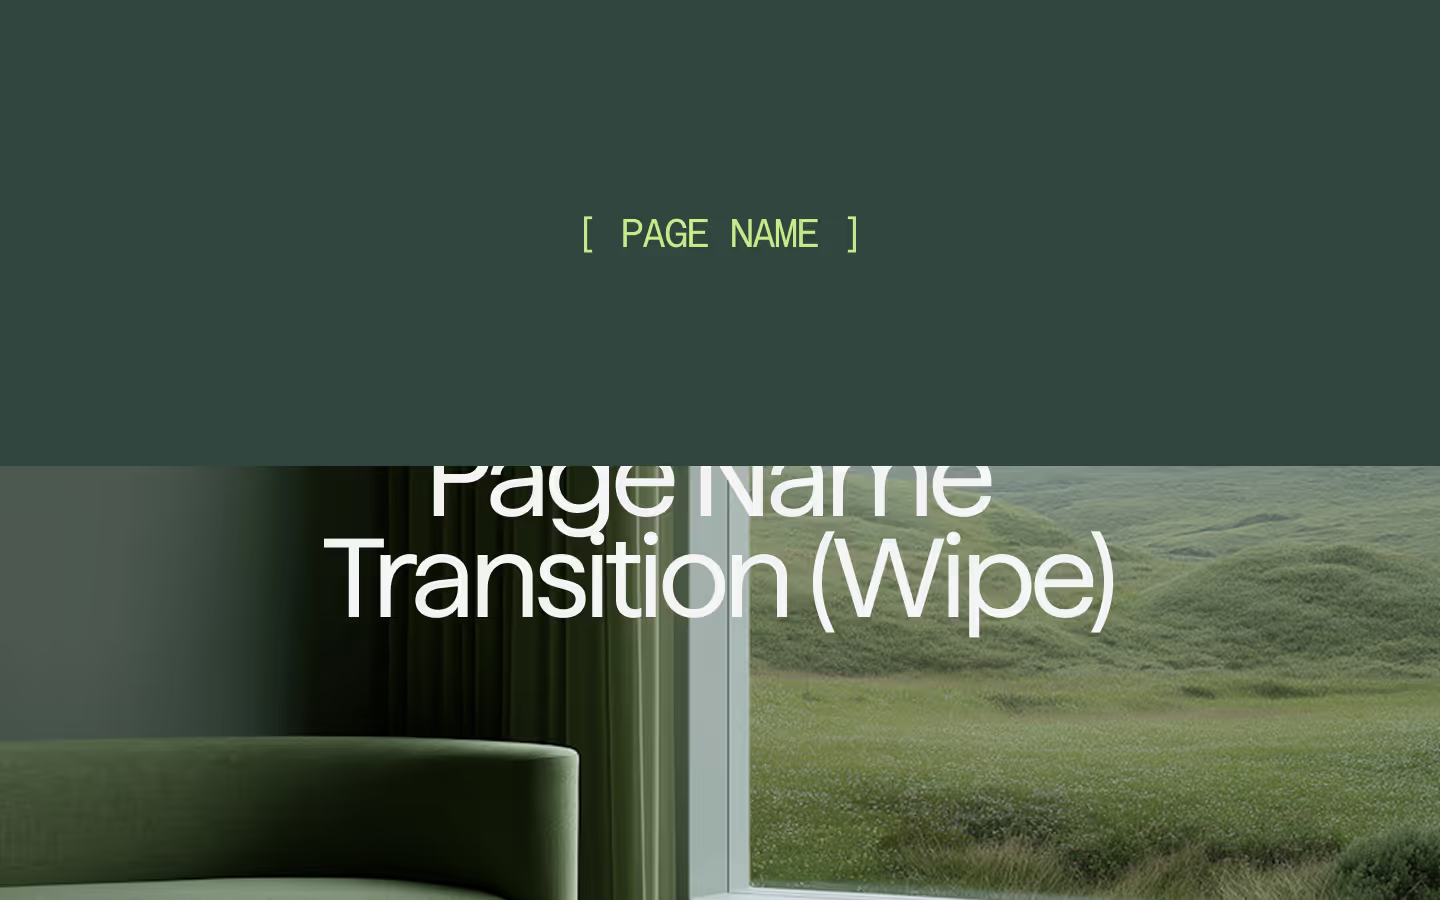
Transition explained
This transition uses GSAP’s DrawSVG plugin to animate a single SVG <path> that draws itself across the screen. Replace the SVG to create a different animation.
On leave, the path starts at 0% and draws forward while the stroke width increases. As it thickens, the line expands enough to visually cover the full viewport, hiding the current page beneath it.
The startEnter label at 1 second gives the SVG path time to fully cover the screen before the reveal begins. On enter, the path continues in the same direction until it reaches 100%, then exits by drawing out from the opposite side. At the same time, the stroke width reduces back to its original thickness.

Resource details
Last updated
February 11, 2026
Category
Page Transitions
Need help?
Join Slack
Original source
 Dennis Snellenberg
Creator Credits
We always strive to credit creators as accurately as possible. While similar concepts might appear online, we aim to provide proper and respectful attribution.