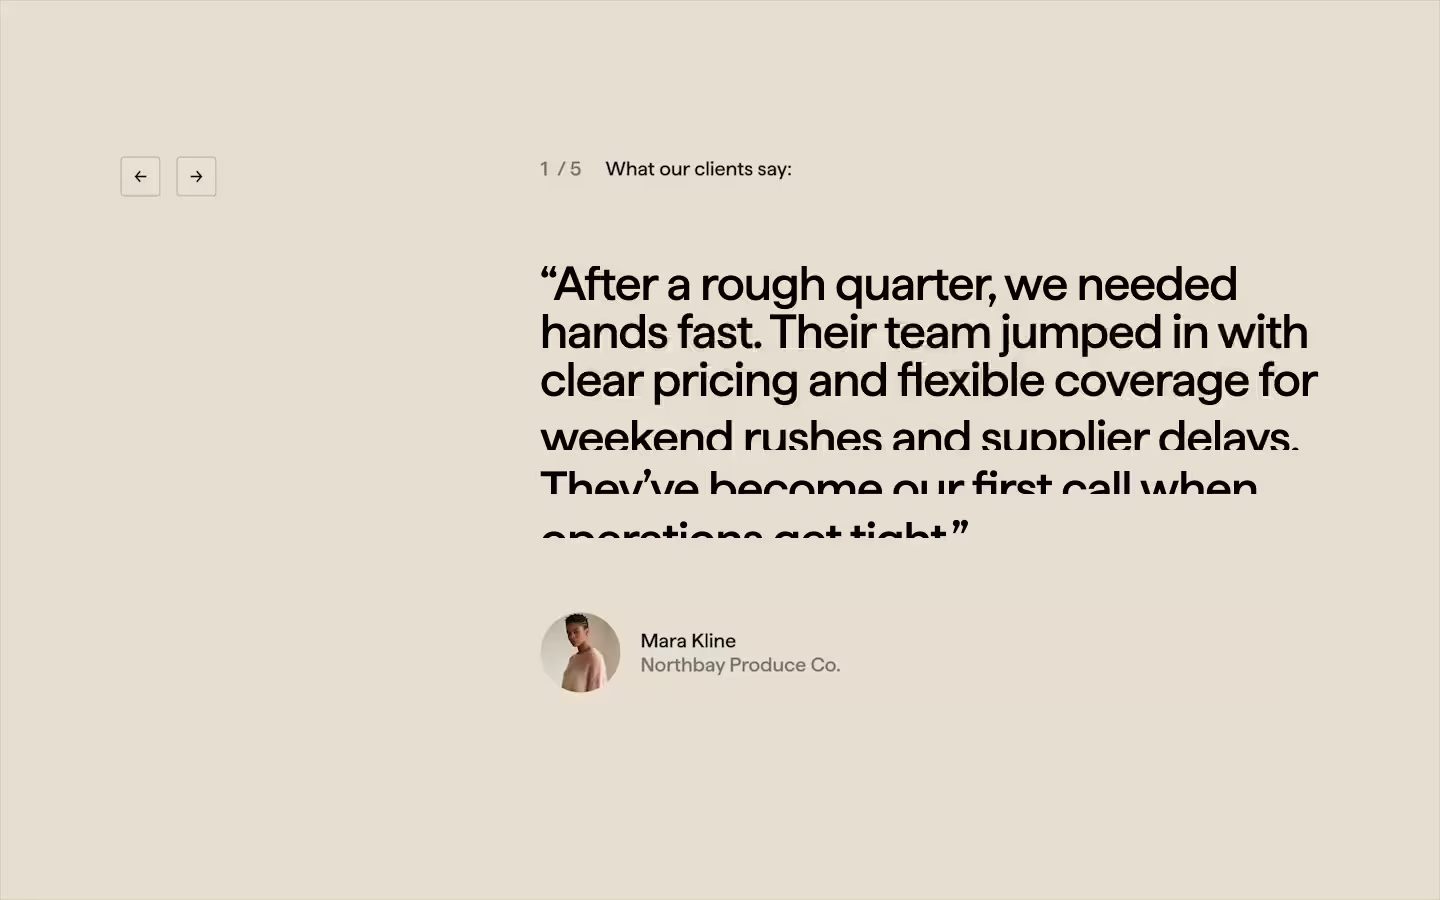


Highlight Text on Scroll

Documentation
Webflow
Code
Setup: External Scripts
External Scripts in Webflow
Make sure to always put the External Scripts before the JavasScript step of the resource. In this video you learn where to put these in your Webflow project:
HTML
<script src="https://cdn.jsdelivr.net/npm/gsap@3.13.0/dist/gsap.min.js"></script>
<script src="https://cdn.jsdelivr.net/npm/gsap@3.13.0/dist/ScrollTrigger.min.js"></script>
<script src="https://cdn.jsdelivr.net/npm/gsap@3.13.0/dist/SplitText.min.js"></script>
Step 1: Copy structure to Webflow
Copy structure to Webflow
In the video below we described how you can copy + paste the structure of this resource to your Webflow project:
Copy to Webflow
Webflow structure is not required for this resource.
Step 1: Add HTML
HTML
<h1 data-highlight-text>Add your heading here</h1>HTML structure is not required for this resource.
Step 2: Add CSS
CSS
Step 2: Add custom Javascript
Custom Javascript in Webflow
In this video, Ilja gives you some guidance about using JavaScript in Webflow:
Step 2: Add Javascript
Step 3: Add Javascript
Javascript
gsap.registerPlugin(ScrollTrigger, SplitText)

function initHighlightText(){

  let splitHeadingTargets = document.querySelectorAll("[data-highlight-text]")
  splitHeadingTargets.forEach((heading) => {

    const scrollStart = heading.getAttribute("data-highlight-scroll-start") || "top 90%"
    const scrollEnd = heading.getAttribute("data-highlight-scroll-end") || "center 40%"
    const fadedValue = heading.getAttribute("data-highlight-fade") || 0.2 // Opacity of letter
    const staggerValue =  heading.getAttribute("data-highlight-stagger") || 0.1 // Smoother reveal

    new SplitText(heading, {
      type: "words, chars",
      autoSplit: true,
      onSplit(self) {
        let ctx = gsap.context(() => {
          let tl = gsap.timeline({
            scrollTrigger: {
              scrub: true,
              trigger: heading,
              start: scrollStart,
              end: scrollEnd,
            }
          })
          tl.from(self.chars,{
            autoAlpha: fadedValue,
            stagger: staggerValue,
            ease: "linear"
          })
        });
        return ctx; // return our animations so GSAP can clean them up when onSplit fires
      }
    });
  });
}

// Initialize Highlight Text on Scroll
document.addEventListener("DOMContentLoaded", () =>{
  initHighlightText();
});
Step 3: Add custom CSS
Step 2: Add custom CSS
Custom CSS in Webflow
Curious about where to put custom CSS in Webflow? Ilja explains it in the below video:
CSS
Implementation
We've seen many different ways of implementing this type of scroll effect, our implementation might be the simplest one yet. No pseudo elements, duplicated text or masks that you have to animate. We simply split the text into characters, and then tween each letter from a lower opacity to fully visible. With the new GSAP SplitText version, making this responsive and accessible is easier than ever:
Simply add the [data-highlight-text] attribute to a text element you want to target. Include the JavaScript in your project, and done!
Customization options
We included a couple of attributes you can add to the same heading element as in step 1. These allow you to customize the behaviour of the animation. You can change it either in the JS directly, or, add the following attributes to your heading:
Scroll start position
[data-highlight-scroll-start] Controls when the text starts highlighting. The default is top 90%. Learn more about the options in the ScrollTrigger docs.
Scroll end position
[data-highlight-scroll-end] Controls when the text animation finishes. Default is center 40%.
Pre-highlight opacity
[data-highlight-fade] Controls the opacity of the text when it is not 'highlighted' yet. Our default is 0.2.
Stagger duration
[data-highlight-stagger] Controls the stagger duration between each letter. A stagger duration of 1 would mean the letters are highlighted one after one, with no fade. A lower number makes it smoother. Play around with this to get your desired result! Our default is 0.1.
Resource details
Last updated
January 22, 2026
Category
Text Animations
Need help?
Join Slack
Original source
 Ilja van Eck
Creator Credits
We always strive to credit creators as accurately as possible. While similar concepts might appear online, we aim to provide proper and respectful attribution.