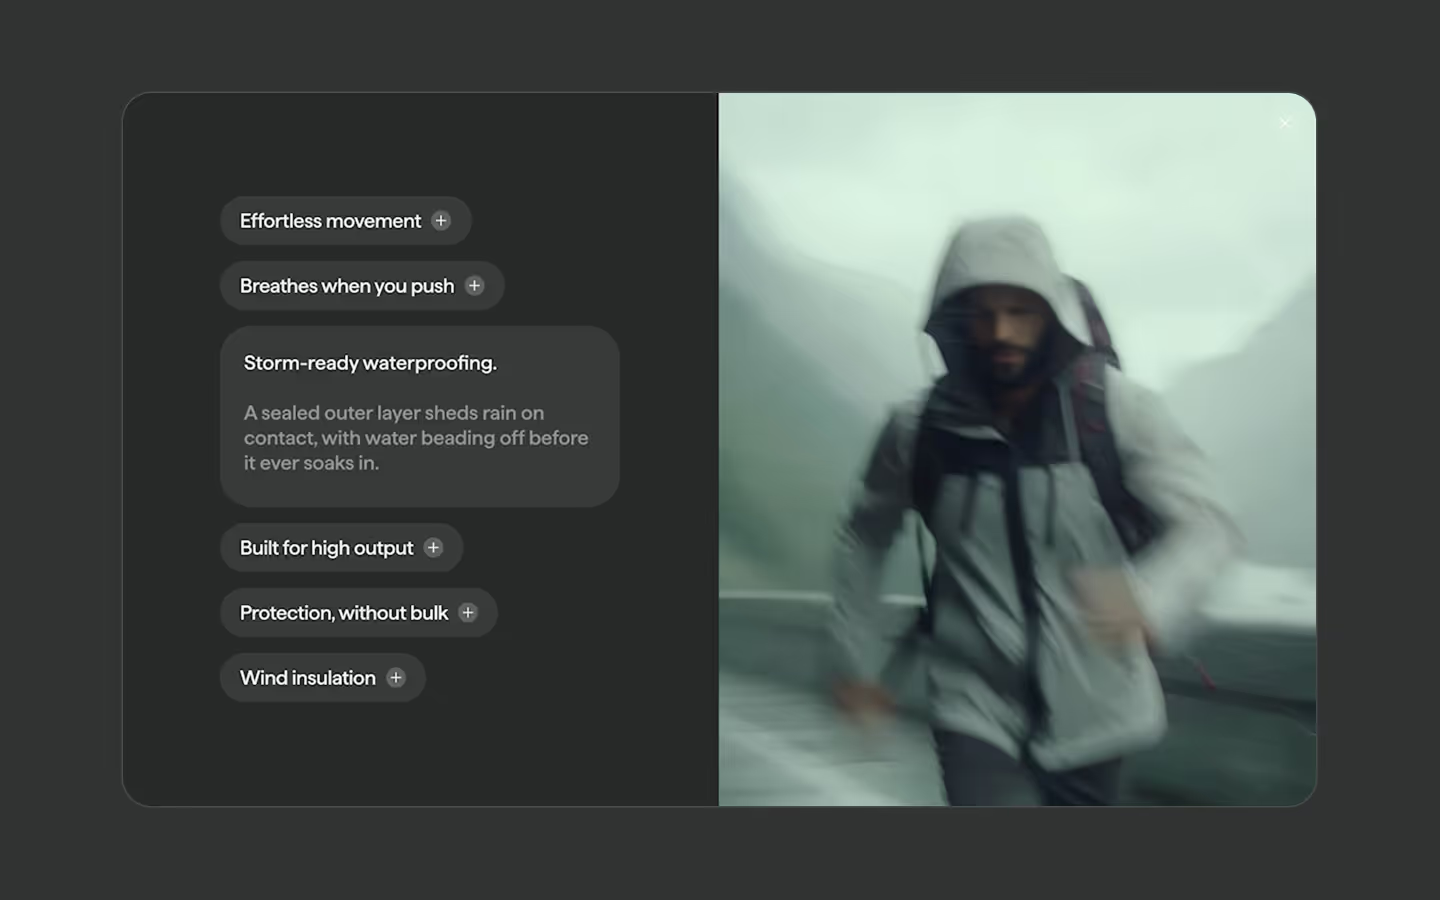
Masked Text Reveal (GSAP SplitText)

Documentation
Webflow
Code
Setup: External Scripts
External Scripts in Webflow
Make sure to always put the External Scripts before the JavasScript step of the resource. In this video you learn where to put these in your Webflow project:
HTML
<script src="https://cdn.jsdelivr.net/npm/gsap@3.13.0/dist/gsap.min.js"></script>
<script src="https://cdn.jsdelivr.net/npm/gsap@3.13.0/dist/ScrollTrigger.min.js"></script>
<script src="https://cdn.jsdelivr.net/npm/gsap@3.13.0/dist/SplitText.min.js"></script>
Step 1: Copy structure to Webflow
Copy structure to Webflow
In the video below we described how you can copy + paste the structure of this resource to your Webflow project:
Copy to Webflow
Webflow structure is not required for this resource.
Step 1: Add HTML
HTML
HTML structure is not required for this resource.
Step 2: Add CSS
CSS
Step 2: Add custom Javascript
Custom Javascript in Webflow
In this video, Ilja gives you some guidance about using JavaScript in Webflow:
Step 2: Add Javascript
Step 3: Add Javascript
Javascript
Step 3: Add custom CSS
Step 2: Add custom CSS
Custom CSS in Webflow
Curious about where to put custom CSS in Webflow? Ilja explains it in the below video:
CSS
Basic implementation
In this guide, we’ll cover how to build a reusable scroll-triggered reveal function using GSAP’s SplitText and ScrollTrigger plugins. You’ll learn how to:
- Start with the most basic version, a simple GSAP tween to animate lines
- Then we'll connect those lines to a ScrollTrigger
- We'll finalize with a production-ready function that is more advanced and scalable across your project
1. Getting started
Register the plugins we're going to use.
gsap.registerPlugin(SplitText, ScrollTrigger);2. HTML Markup / What to add in Webflow
For each heading you want to reveal on scroll, add an attribute of data-split="heading".
3. A very basic SplitText animation
This will split every element with the selected attribute into lines, then wrap each line in another div with overflow hidden (to create a mask effect), and then animate those lines coming from the bottom. We return the GSAP tween so that the instance is reverted on window resize. Otherwise we end up creating new animations on top of old ones on every split.
document.addEventListener("DOMContentLoaded", () => {

  let headings = document.querySelectorAll('[data-split="heading"]')
  headings.forEach(heading => {
    SplitText.create(heading, {
        type: "lines",
        autoSplit: true,
        mask: "lines",
        onSplit(instance) {
          return gsap.from(instance.lines, {
            duration: 0.8,
            yPercent: 110,
            stagger: 0.1,
            ease:"expo.out",
          });
        }
    });
  });

});
4. Connect that to a ScrollTrigger
Because we've already included and registered the ScrollTrigger plugin in our project, we can go ahead and implement it directly in the existing GSAP tween like below. And basically, that's it already! You now have a clean reveal effect for every heading on your page! Below this code block, we will continue with a more advanced example, and all the way at the end of this article you can find some 'notes'.
document.addEventListener("DOMContentLoaded", () => {

  let headings = document.querySelectorAll('[data-split="heading"]')
  headings.forEach(heading => {
    SplitText.create(heading, {
      type: "lines",
      autoSplit: true,
      mask: "lines",
      onSplit(instance) {
        return gsap.from(instance.lines, {
          duration: 0.8,
          yPercent: 110,
          stagger: 0.1,
          ease:"expo.out",
          scrollTrigger: {
            trigger: heading,
            start: 'top 80%',
            once: true,
          }
        });
      }
    });
  });
});
Advanced implementation
1. HTML Markup / What to add in Webflow
Contrary to the basic example, we'll include 2 attributes on each heading. One to target, and one to decide on the split-type. For each heading you want to reveal on scroll, add 2 attributes: data-split="heading" and data-split-reveal="lines".
data-split="heading"marks elements to process.data-split-revealaccepts "lines", "words", or "chars" (alias for characters).- If you don't add a value inside
data-split-reveal, it will default to "lines".
2. Configuration options
We define a global config object to store the default duration and stagger duration for all our different split-types. You can change these however you like! Technically, you could expand the object with different eases or even animations, but we'll keep it as is for now:
const splitConfig = {
  lines: { duration: 0.8,  stagger: 0.08 },
  words: { duration: 0.6,  stagger: 0.06 },
  chars: { duration: 0.4,  stagger: 0.01 }
}
3. The actual scroll-reveal function
Everything happens in one init function. We only want to do the minimum amount of splitting to reduce unnecessary DOM nodes. After all, if you only want to animate lines, there's no need to split your text all the way into separate letters!
- lines → split by lines only
- words → split by lines and words
- chars → split by lines, words and characters
So, here's what we'll do in total:
- Grab each
[data-split="heading"] - Read the
data-split-revealvalue. - Call
SplitText.createfor the correcttype. - In
onSplit, create the ScrollTrigger, and return the tween for cleanup. - Clamp the start value of our ScrollTrigger to force the animation to always start from 0. Learn more here.
gsap.registerPlugin(SplitText, ScrollTrigger);

const splitConfig = {
  lines: { duration: 0.8, stagger: 0.08 },
  words: { duration: 0.6, stagger: 0.06 },
  chars: { duration: 0.4, stagger: 0.01 }
}

function initMaskTextScrollReveal() {
  document.querySelectorAll('[data-split="heading"]').forEach(heading => {
    // Find the split type, the default is 'lines'
    const type = heading.dataset.splitReveal || 'lines'
    const typesToSplit =
      type === 'lines' ? ['lines'] :
      type === 'words' ? ['lines','words'] :
      ['lines','words','chars']

    // Split the text
    SplitText.create(heading, {
      type: typesToSplit.join(', '), // split into required elements
      mask: 'lines', // wrap each line in an overflow:hidden div
      autoSplit: true,
      linesClass: 'line',
      wordsClass: 'word',
      charsClass: 'letter',
      onSplit: function(instance) {
        const targets = instance[type] // Register animation targets
        const config = splitConfig[type] // Find matching duration and stagger from our splitConfig

        return gsap.from(targets, {
          yPercent: 110,
          duration: config.duration,
          stagger: config.stagger,
          ease: 'expo.out',
          scrollTrigger: {
            trigger: heading,
            start: 'clamp(top 80%)',
            once: true
          }
        });
      }
    })
  })

}

document.addEventListener("DOMContentLoaded", () => {
  initMaskTextScrollReveal()
});
Some notes
Accessibility
Since the new version of SplitText (version 13.0) there's now an a super nice, built-in option to make your split animations accessible for screen readers. You don't even need to add anything yourself, as the default for aria is already set automatically. Learn more here.
Flash of unstyled content (FOUC)
Perhaps you have a heading with a reveal animation that is immediately visible in the first viewport. Sometimes you might see it visible, before it is animated, which looks kind of odd. This happens because your browser renders things as quickly as possible, often before your JavaScript executes the first time. The solution that we like the most, is to simply hide your elements in CSS, and then use a gsap.set tween to show the element right before you want to animate it.
CSS:
/* Hide your heading in CSS */
[data-split="heading"]{
  visibility: hidden;
}

/* For Webflow users only: */
/* Make sure the heading does not disappear in the designer or editor */
.wf-design-mode [data-split="heading"],
.w-editor [data-split="heading"]{
  visibility: visible !important;
}
And then in our JS:
document.addEventListener("DOMContentLoaded", () => {
  let headings = document.querySelectorAll('[data-split="heading"]')
  headings.forEach(heading => {
    // Reset CSS visibility here:
    gsap.set(heading,{ autoAlpha:1 })

    // .... rest of your code below
  });
});
Bonus tips
1. To make sure you split the text after the font is loaded you can put your code inside this function:
document.fonts.ready.then(function () {
  // Your code here
});
2. Some CSS that can result in better and faster rendering of the fonts:
.text {
  -webkit-text-rendering: optimizeSpeed;
  text-rendering: optimizeSpeed;
  -webkit-transform: translateZ(0);
  font-kerning: none;
}
3. Using Adobe fonts? Use this tutorial on YouTube to download the font files. Upload them or run them locally this way for faster load times.
Resource details
Last updated
January 22, 2026
Category
Text Animations
Need help?
Join Slack


