


Basic Custom Cursor

00:00
/
00:00
Documentation
Webflow
Code
Setup: External Scripts
External Scripts in Webflow
Make sure to always put the External Scripts before the JavasScript step of the resource. In this video you learn where to put these in your Webflow project:
HTML
<script src="https://cdn.jsdelivr.net/npm/gsap@3.13.0/dist/gsap.min.js"></script>Step 1: Copy structure to Webflow
Copy structure to Webflow
In the video below we described how you can copy + paste the structure of this resource to your Webflow project:
Copy to Webflow
Webflow structure is not required for this resource.
Step 1: Add HTML
HTML
<div class="cursor"></div>HTML structure is not required for this resource.
Step 2: Add CSS
CSS
.cursor {
  z-index: 100;
  background-color: #ff4c24;
  border: 1px solid #ff4c24;
  border-radius: 100em;
  width: 1em;
  height: 1em;
  transition: background-color .375s cubic-bezier(.625, .05, 0, 1), height .375s cubic-bezier(.625, .05, 0, 1), width .375s cubic-bezier(.625, .05, 0, 1);
  position: fixed;
  inset: 0% auto auto 0%;
  pointer-events: none;
}

body:has( a:hover) .cursor,
body:has( button:hover) .cursor,
body:has( [data-cursor]:hover) .cursor{
  width: 3em;
  height: 3em;
  background-color: rgba(255, 76, 36, 0.3);
}

@media (hover: none) and (pointer: coarse) {
  .cursor {
    display: none;
  }
}
Step 2: Add custom Javascript
Custom Javascript in Webflow
In this video, Ilja gives you some guidance about using JavaScript in Webflow:
Step 2: Add Javascript
Step 3: Add Javascript
Javascript
function initBasicCustomCursor() {

  gsap.set(".cursor", {xPercent:-50, yPercent: -50});

  let xTo = gsap.quickTo(".cursor", "x", {duration: 0.6, ease: "power3"});
  let yTo = gsap.quickTo(".cursor", "y", {duration: 0.6, ease: "power3"});

  window.addEventListener("mousemove", e => {
    xTo(e.clientX);
    yTo(e.clientY);
  });
}

// Initialize Basic Custom Cursor
document.addEventListener('DOMContentLoaded', () => {
  initBasicCustomCursor();
});
Step 3: Add custom CSS
Step 2: Add custom CSS
Custom CSS in Webflow
Curious about where to put custom CSS in Webflow? Ilja explains it in the below video:
CSS
body:has( a:hover) .cursor,
body:has( button:hover) .cursor,
body:has( [data-cursor]:hover) .cursor{
  width: 3em;
  height: 3em;
  background-color: rgba(255, 76, 36, 0.3);
}

@media (hover: none) and (pointer: coarse) {
  .cursor {
    display: none;
  }
}
Implementation
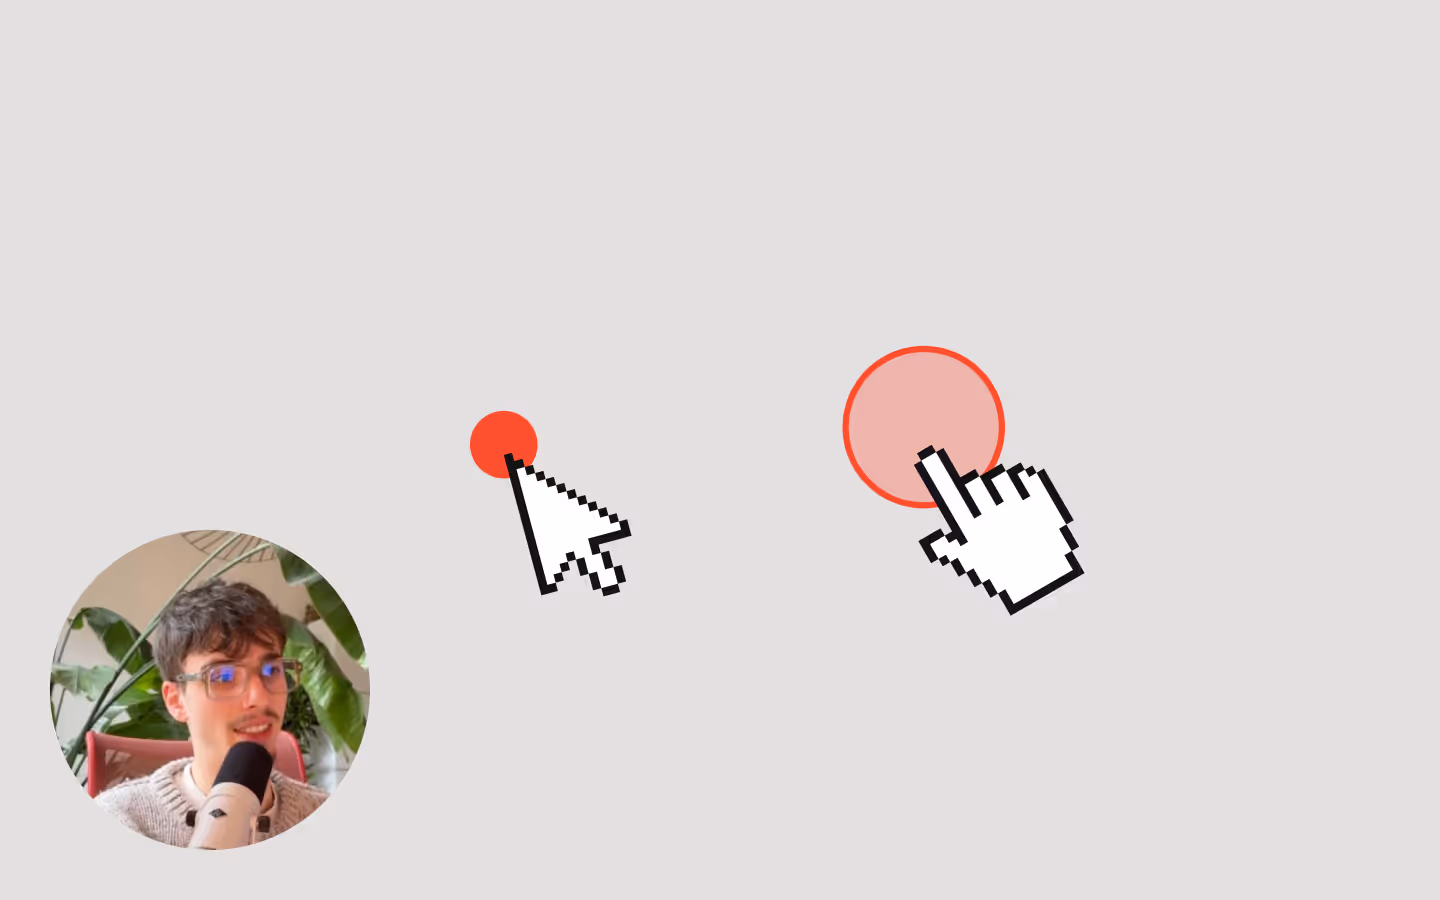
A lightweight custom cursor built with GSAP. It follows the mouse smoothly and scales up when hovering interactive elements like links or buttons.
HTML Setup
Add a div somewhere on your page, give it a class of .cursor and make sure it has position: fixed and has top and left set to 0. Also make sure the cursor has pointer-events: none so it doesn’t block interactions.
Hover targets
The hover state is automatically triggered by any link block or button.
You can also manually trigger it by adding a [data-cursor] attribute to any element. It's perfect for custom interactive components or images that should respond to hover.
Cursor smoothness
The smooth movement is powered by GSAP’s .quickTo() method, which interpolates the cursor’s x and y positions each frame.
You can adjust the duration and ease inside the script to tweak how “snappy” or “buttery” the cursor feels.
Resource details
Last updated
December 16, 2025
Category
Cursor Animations
Need help?
Join Slack
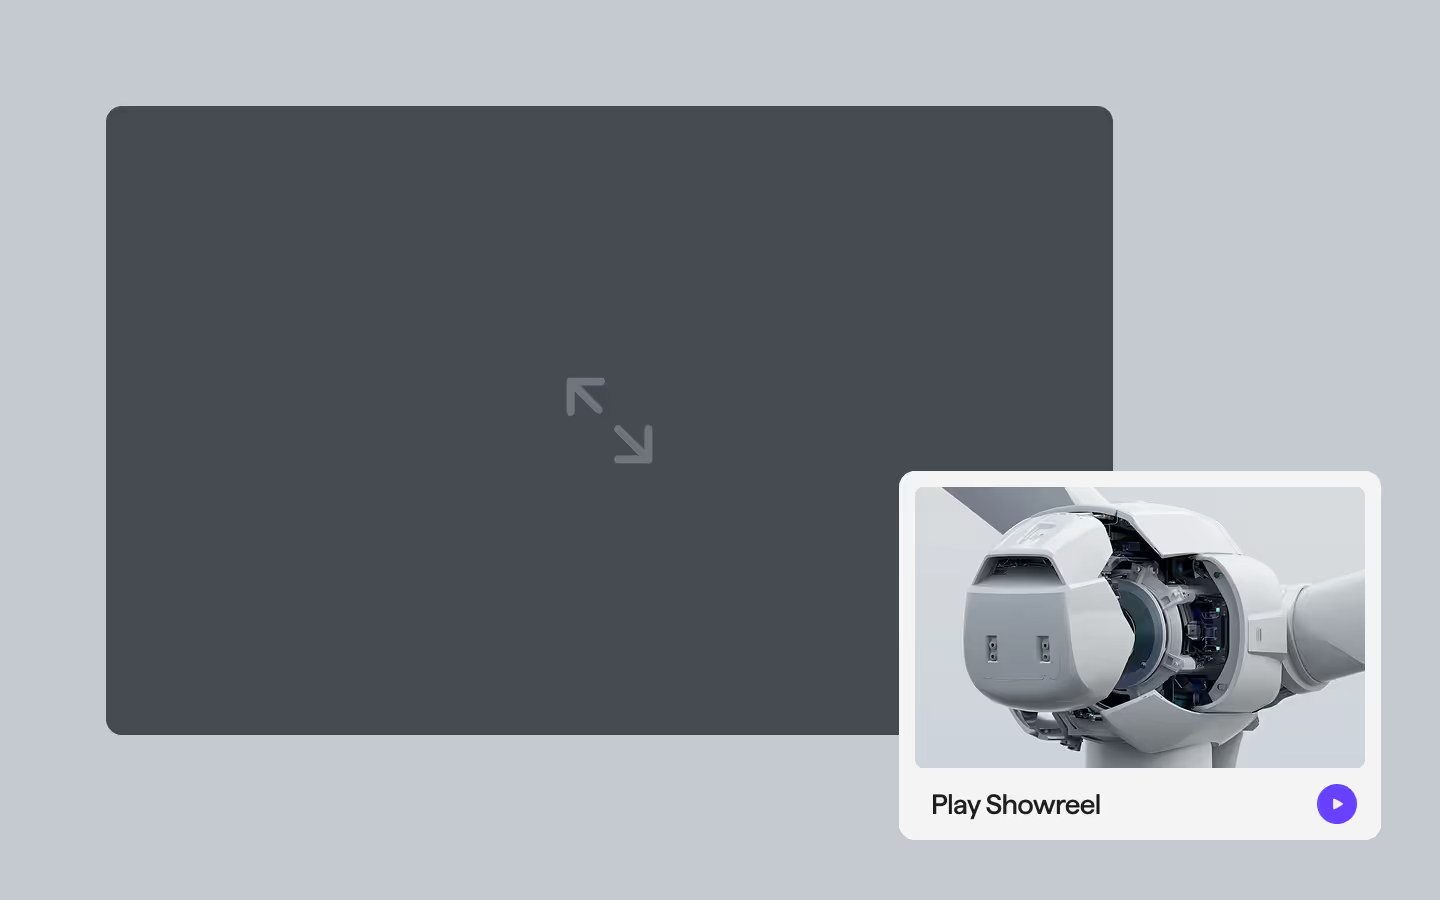
Watch the video
Hide the video
Original source
 Osmo
OsmoCreator Credits
We always strive to credit creators as accurately as possible. While similar concepts might appear online, we aim to provide proper and respectful attribution.