


Play Video on Hover (Lazy)


00:00
/
00:00
Documentation
Webflow
Code
Setup: External Scripts
External Scripts in Webflow
Make sure to always put the External Scripts before the JavasScript step of the resource. In this video you learn where to put these in your Webflow project:
HTML
Step 1: Copy structure to Webflow
Copy structure to Webflow
In the video below we described how you can copy + paste the structure of this resource to your Webflow project:
Copy to Webflow
Webflow structure is not required for this resource.
Step 1: Add HTML
HTML
<div data-video-on-hover="not-active" data-video-src="https://osmo.b-cdn.net/resource-preview/whatsapp-modal-1440x900-v2.mp4" class="video-card">
  <div class="video-card-visual">
    <img src="https://cdn.prod.website-files.com/68493e75b2d7f03a5fa360af/68495579840e207fe2517a41_video-card-1.avif" class="video-card-visual__img">
    <video muted loop webkit-playsinline playsinline src="" class="video-card-visual__video"></video>
  </div>
  <span class="video-card-title">WhatsApp Modal</span>
</div>
HTML structure is not required for this resource.
Step 2: Add CSS
CSS
.video-card {
  gap: 1em;
  background-color: #f0f0f0;
  border-radius: .75em;
  flex-flow: column;
  width: 22em;
  padding: .75em .75em 1.125em;
  transition: background-color .2s;
  display: flex;
}

.video-card:hover {
  background-color: #fff;
}

.video-card-visual {
  aspect-ratio: 1.6;
  border-radius: .5em;
  width: 100%;
  position: relative;
  overflow: hidden;
}

.video-card-visual__img {
  object-fit: cover;
  width: 100%;
  height: 100%;
}

.video-card-visual__video {
  opacity: 0;
  width: 100%;
  height: 100%;
  padding: 0;
  transition: opacity .2s;
  position: absolute;
  inset: 0%;
}

.video-card-title{
  padding-left: 0.75em;
}

/* ———— If video is active and hovered, set it to opacity 1 ———— */
[data-video-on-hover="active"] video{ opacity: 1; }
Step 2: Add custom Javascript
Custom Javascript in Webflow
In this video, Ilja gives you some guidance about using JavaScript in Webflow:
Step 2: Add Javascript
Step 3: Add Javascript
Javascript
function initPlayVideoHover() {
  const wrappers = document.querySelectorAll('[data-video-on-hover]');

  wrappers.forEach(wrapper => {
    const video = wrapper.querySelector('video');
    const src = wrapper.getAttribute('data-video-src') || '';
    if (!video || !src) return;

    wrapper.addEventListener('mouseenter', () => {
      if (!video.getAttribute('src')) {
        video.setAttribute('src', src);
      }
      wrapper.dataset.videoOnHover = 'active';
      video.play().catch(err => {
        console.warn('play on hover is blocked:', err);
      });
    });

    wrapper.addEventListener('mouseleave', () => {
      wrapper.dataset.videoOnHover = 'not-active';
      setTimeout(() => {
        video.pause();
        video.currentTime = 0;
      }, 200);
    });
  });
}

document.addEventListener("DOMContentLoaded", () => {
  initPlayVideoHover();
});
Step 3: Add custom CSS
Step 2: Add custom CSS
Custom CSS in Webflow
Curious about where to put custom CSS in Webflow? Ilja explains it in the below video:
CSS
/* ———— If video is active and hovered, set it to opacity 1 ———— */
[data-video-on-hover="active"] video{ opacity: 1; }
Documentation
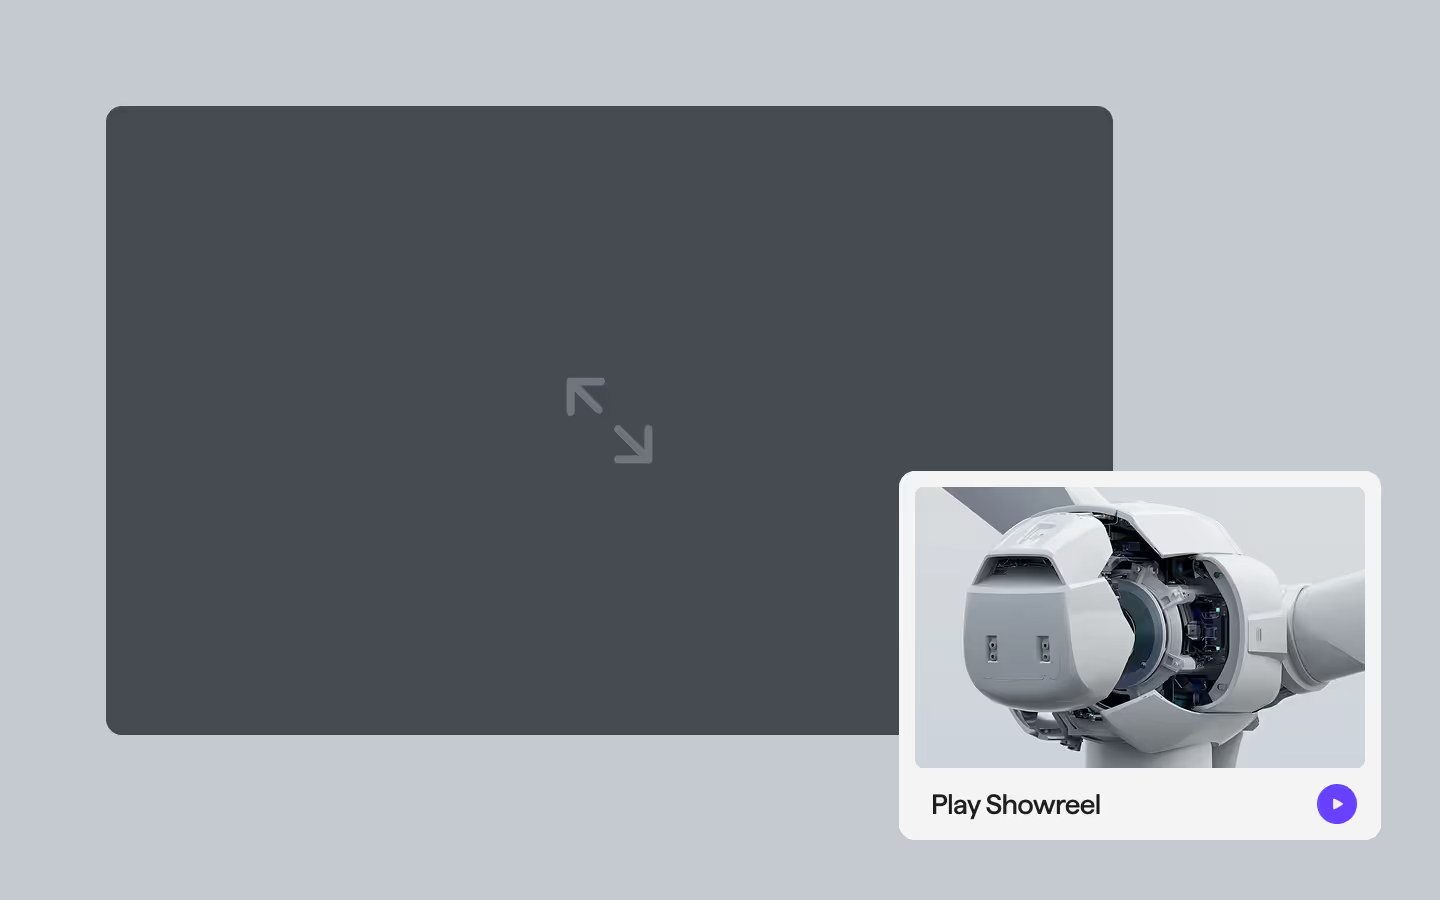
A lightweight, dependency-free component that displays a placeholder image and seamlessly transitions to a video on hover. Perfect for dynamic previews and interactive components without slowing down your page speed. Videos are created on-demand, by only fetching and serving when a user hovers over the card.
HTML Structure
- Add
data-video-on-hoverto any wrapper element of your HTML5 video element. This is the attribute that the code will target for hover events. We will also toggle anactiveornot-activevalue on this attribute to control the opacity of a placeholder image. - To that same wrapper element add an attribute of
data-video-srcand include a link to your (mp4) video in the attribute value. Once a user hovers the wrapper, we will load the video src dynamically and play! - To our video element inside, make sure to include the following attributes:
muted: Required for autoplay browser policy.loop: Optional of course.playsinline/webkit-playsinline: Ensure inline mobile playback.
- We will define
opacity: 0to our video in CSS.
JavaScript
- Hover In
- On first hover, sets
video.srcfromdata-video-src. This only needs to happen once, on every hover after that, we can simply callplay() - Updates
data-video-on-hoverto"active". In our CSS we use this to set our video toopacity: 1 - Calls
video.play(), silently catching any rejection.
- On first hover, sets
- Hover Out
- Updates
data-video-on-hoverto"not-active". This will hide our video again. - After a 200 ms delay, pauses playback and resets
currentTimeto0.
- Updates
That's it! A simple, no-dependency way to add engaging video previews to your cards.
Hosting your own videos
We recommend checking the video attached to this resource, in which Ilja explains step-by-step how to setup your own video hosting at Bunny.net. It takes a couple of minutes to set up a super fast, cheap, and reliable service for yourself and/or clients. Always make sure to compress your videos before uploading, by using a website like videosmaller.com or a tool like Handbrake.
Resource details
Last updated
December 16, 2025
Category
Video & Audio
Need help?
Join Slack
Watch the video
Hide the video
Original source
 Osmo
OsmoCreator Credits
We always strive to credit creators as accurately as possible. While similar concepts might appear online, we aim to provide proper and respectful attribution.