Javascript Toggle (Attributes)

Documentation
Webflow
Code
Setup: External Scripts
External Scripts in Webflow
Make sure to always put the External Scripts before the JavasScript step of the resource. In this video you learn where to put these in your Webflow project:
HTML
Step 1: Copy structure to Webflow
Copy structure to Webflow
In the video below we described how you can copy + paste the structure of this resource to your Webflow project:
Copy to Webflow
Webflow structure is not required for this resource.
Step 1: Add HTML
HTML
<body data-navigation-status="not-active">
  <button data-navigation-control="toggle">Toggle Navigation</button>
</body>
HTML structure is not required for this resource.
Step 2: Add CSS
CSS
Step 2: Add custom Javascript
Custom Javascript in Webflow
In this video, Ilja gives you some guidance about using JavaScript in Webflow:
Step 2: Add Javascript
Step 3: Add Javascript
Javascript
Step 3: Add custom CSS
Step 2: Add custom CSS
Custom CSS in Webflow
Curious about where to put custom CSS in Webflow? Ilja explains it in the below video:
CSS
Implementation
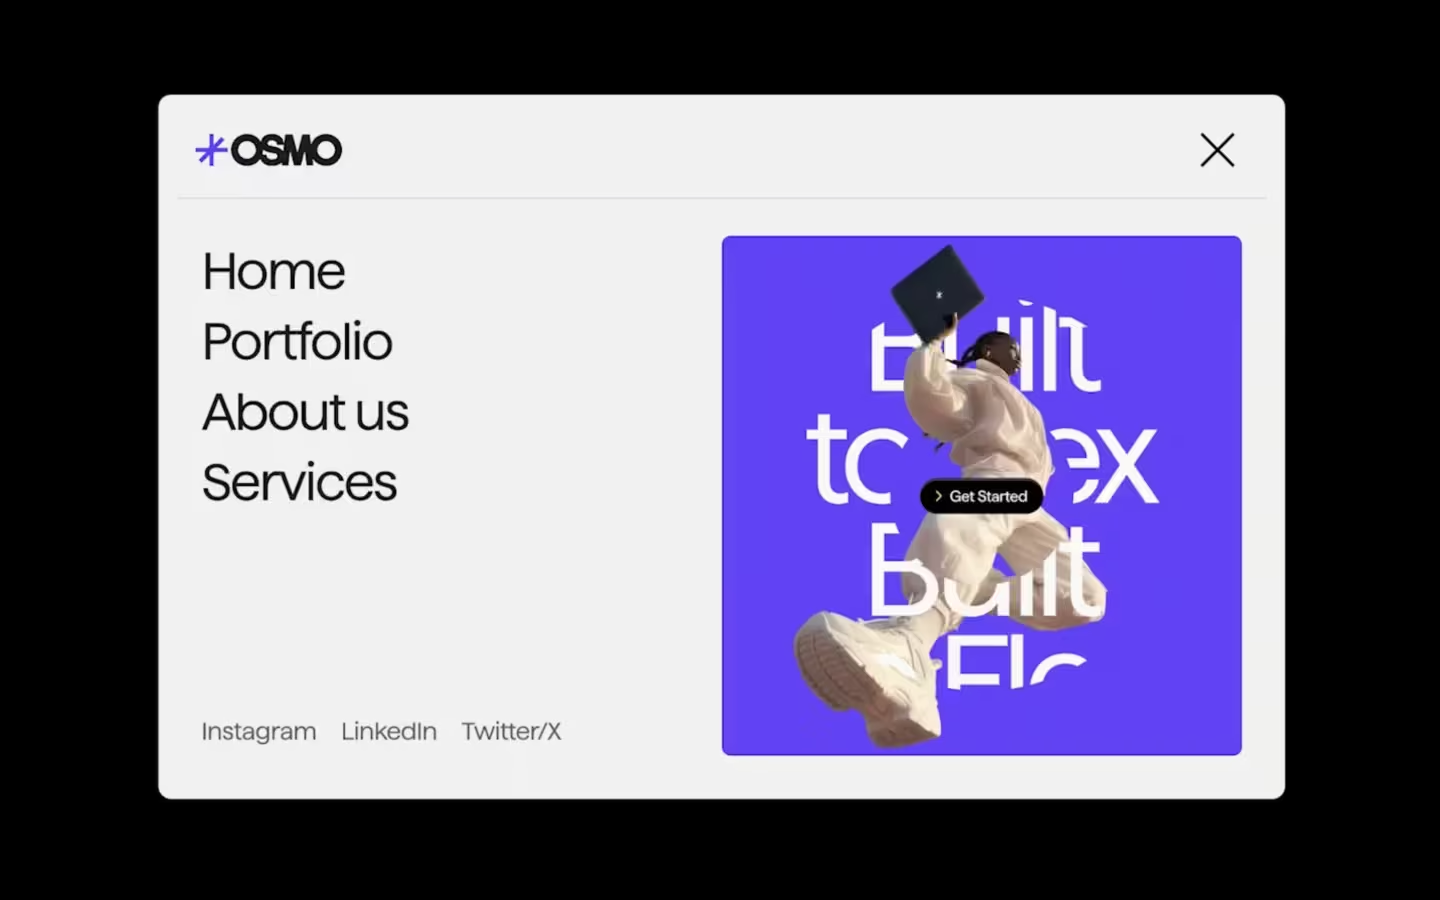
Easily toggle or set any custom attribute with a small Javascript snippet. Each pattern relies on two key parts:
1. Control Element (often button)
An element (button, link, etc.) that the user interacts with to fire the toggle or action.
<button data-navigation-control="toggle">Toggle Navigation</button>2. Status Element (often the body)
An element—often the <body> or a surrounding container—that holds a data attribute (for example, [data-navigation-status="active"]). You can then target that attribute in your CSS to apply conditional styles.
<button data-navigation-status="not-active"></body>Variants
Toggle
The most basic version of a toggle, the trigger element holds [data-navigation-control="toggle"], and the target element holds [data-navigation-status], which flips between your chosen values (for example, active ↔ not-active) on each click. Replace navigation or the status labels to suit your component.
document.addEventListener('DOMContentLoaded', () => {
  document.querySelectorAll('[data-navigation-control="toggle"]').forEach(toggle => {
    toggle.addEventListener('click', () => {
      const statusEl = document.querySelector('[data-navigation-status]');
      if (!statusEl) return;

      // Toggle between "active" & "not-active"
      const current = statusEl.getAttribute('data-navigation-status');
      statusEl.setAttribute('data-navigation-status', current === 'active' ? 'not-active' : 'active');
    });
  });
});
One action (for example: Close)
Use this simpler version when you only ever need to set one specific element to a given state—no toggling back and forth required. In the example below we use [data-navigation-status="not-active"], but you can replace not-active with any status label that makes sense for your use case.
document.addEventListener('DOMContentLoaded', () => {
  document.querySelectorAll('[data-navigation-control="close"]').forEach(action => {
    action.addEventListener('click', () => {
      const statusEl = document.querySelector('[data-navigation-status]');
      if (!statusEl) return;

      // Set "not-active"
      statusEl.setAttribute('data-navigation-status', 'not-active');
    });
  });
});
Using the keyboard
Use this approach when you want to close or deactivate an element via a keyboard shortcut. The script listens for the esc key and, when pressed, sets your status element to[data-navigation-status="not-active"]
document.addEventListener('DOMContentLoaded', () => {
  document.addEventListener('keydown', e => {
    if (e.keyCode === 27) {
      const statusEl = document.querySelector('[data-navigation-status]');
      if (!statusEl) return;

      // Set "not-active" (only when element is already 'active')
      if (statusEl.getAttribute('data-navigation-status') === 'active') {
        statusEl.setAttribute('data-navigation-status', 'not-active');
      }
    }
  });
});
Multiple toggles (variable name)
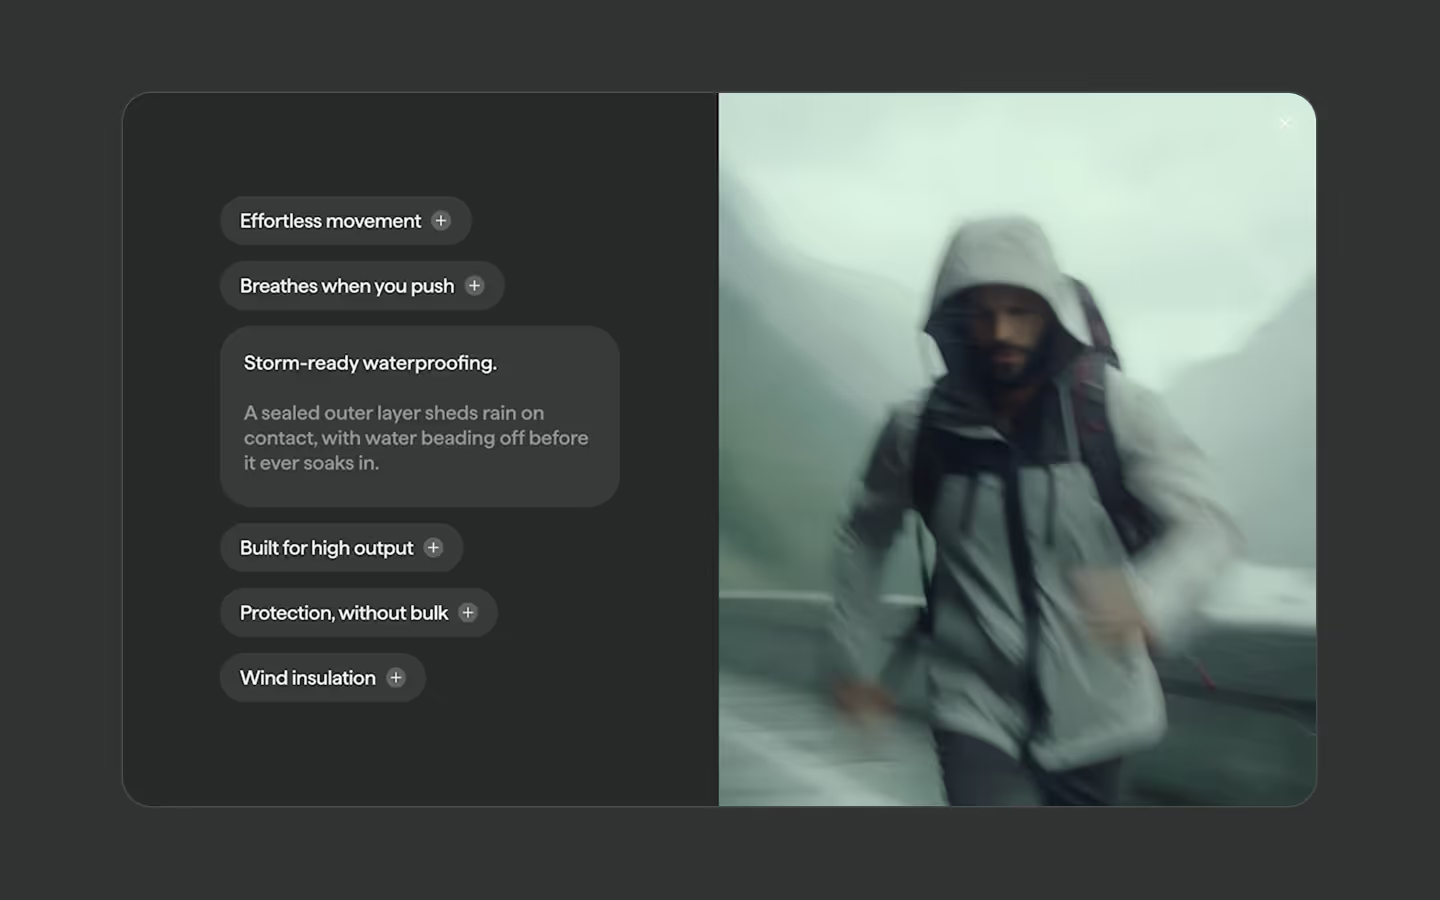
Use this pattern when you need to toggle any number of components. Just swap in your own key—e.g. [data-toggle="modal"], [data-toggle="card"], [data-toggle="theme"]. The script below will automatically pick up your name and flip the corresponding data-[name]-status between true and false (or whatever values you prefer).
document.addEventListener('DOMContentLoaded', () => {
  document.querySelectorAll('[data-toggle]').forEach(toggle => {
    toggle.addEventListener('click', () => {
      const name = toggle.getAttribute('data-toggle');
      const attr = `data-${name}-status`;
      const statusEl = document.querySelector(`[${attr}]`);
      if (!statusEl) return;

      // Toggle between "true" & "false"
      const isTrue = statusEl.getAttribute(attr) === 'true';
      statusEl.setAttribute(attr, isTrue ? 'false' : 'true');
    });
  });
});
jQuery version (Toggle & Action)
If you prefer to use jQuery you can use the version below.
$(document).ready(function() {
  // Toggle on click
  $('[data-navigation-control="toggle"]').click(function () {
    if ($('[data-navigation-status]').attr('data-navigation-status') == 'not-active') {
      $('[data-navigation-status]').attr('data-navigation-status', 'active');
    } else {
      $('[data-navigation-status]').attr('data-navigation-status', 'not-active');
    }
  });

  // Close on click
  $('[data-navigation-control="close"]').click(function () {
    $('[data-navigation-status]').attr('data-navigation-status', 'not-active');
  });

  // Close on `Escape` key
  document.addEventListener('keydown', function (event) {
    if (event.key === 'Escape') {
      $('[data-navigation-status]').attr('data-navigation-status', 'not-active');
    }
  });
});Resource details
Last updated
November 10, 2025
Category
Utilities & Scripts
Need help?
Join Slack


